> For the complete documentation index, see [llms.txt](https://docs.cloudeka.ai/llms.txt). Markdown versions of documentation pages are available by appending `.md` to page URLs; this page is available as [Markdown](https://docs.cloudeka.ai/cloudeka-api-list/command-reference/cldkctl-create/role.md).
# role
The create role command creates a new Role in the Kubernetes cluster. This command allows defining resource permissions and access levels for users or service accounts.
## Usage
```
cldkctl create role [flags]
```
## Steps
Follow the steps below to run and view the result of this command:
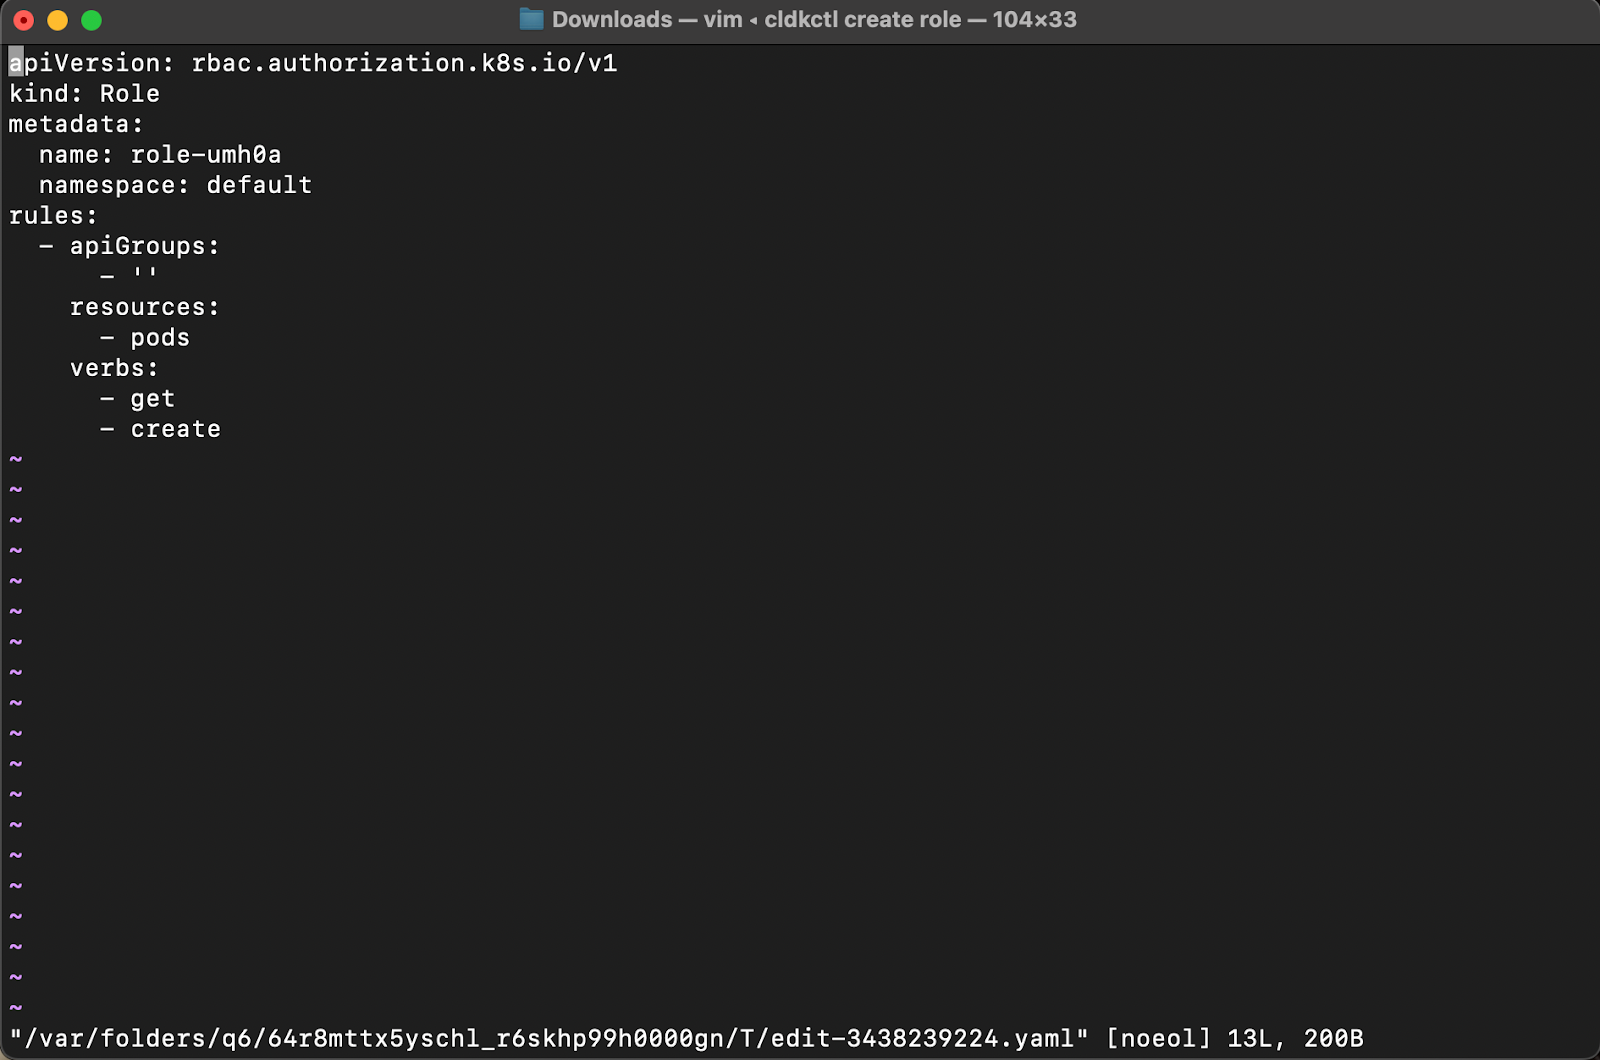
1. You can create a Role either by opening the built-in editor or by using a YAML configuration file.
2. To open the editor, run:
```
cldkctl create role
```
3. The Role manifest will open in your default text editor (default: vim). Edit the configuration as needed, then save and close the file to apply the changes.
4. Alternatively, you can prepare a YAML file that defines the Role configuration, then save this file in the same directory where you will run the cldkctl command.
5. Use the --file flag to point to the YAML file.
6. (Optional) To specify a namespace or project, add the --default-namespace or --project flag.
7. Run the following command in your terminal:
```
cldkctl create role --file [role file name]
```
8. Replace \[role file name] with the path to your YAML configuration file.
9. Once completed successfully, a message “✓ Role created” will appear in your terminal.
## Flags
{% hint style="info" %}
This command supports [global flags](/cloudeka-api-list/global-flags.md). Refer to the Global Flags section for details.
{% endhint %}
| Flag | Description |
| ---------- | ----------------------------- |
| -h, --help | Help for create role command. |