# Remote Instance using Putty
In this guide we will run virtual remote control of the Service Portal AI machine using PuTTY from your computer.
{% hint style="warning" %}
To run remote control of virtual machines using putty, make sure you have done the following configuration:
a. [Create VPC](/deka-flexi/deka-flexi-network/vpc-network/create-vpc-network.md)
b. [OpenVPN Configuration](/deka-vpn/configuration-deka-vpn-openvpn.md)
c. [IPSec COnfiguration](/deka-vpn/configuration-deka-vpn-ipsec.md)
{% endhint %}
The case examples used in this guide are two projects, each of which has a virtual machine on an Instance in the Service Portal AI. The following IP addresses are used in each project.
| Column | Project A | Project B |
| -------------------------- | -------------- | --------------- |
| (a) VPN - Floating IP | 103.191.14.149 | 103.168.135.220 |
| (b) VPN - Network | 10.10.10.0 | 10.20.20.0 |
| (c) VPN - Network OpenVPN | 20.20.20.0/24 | - |
| (d) Instance - Gateway IP | 10.10.10.1 | 10.20.20.1 |
| (e) Instance - Internal IP | 10.10.10.55 | 10.20.20.6 |
Here are the steps to run remote control of virtual machines in the Service Portal AI using PuTTY:
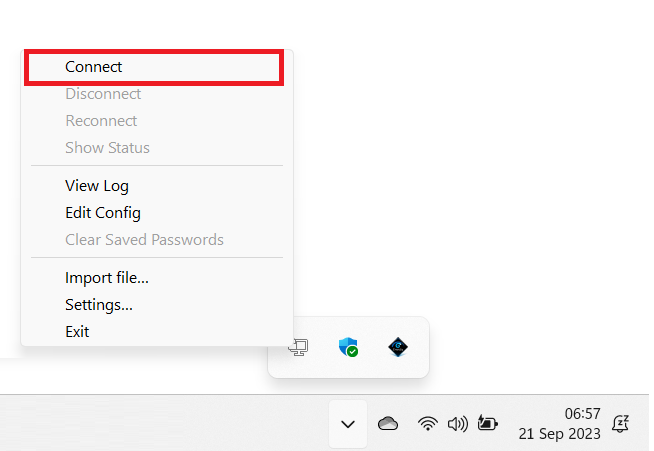
* Make an OpenVPN connection using Viscosity Inline from Project A.
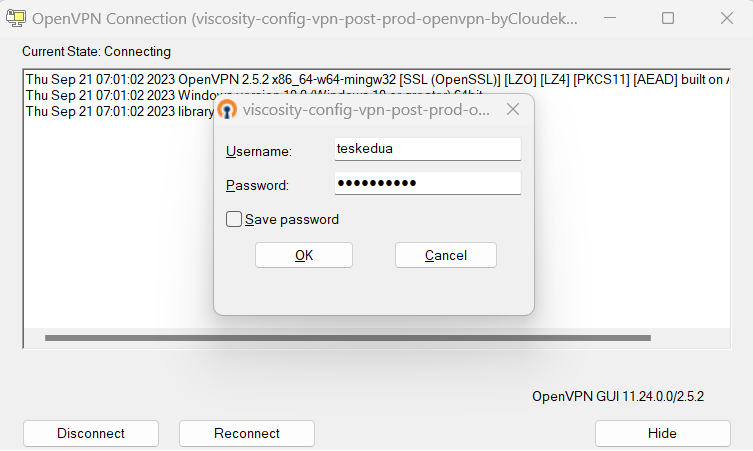
* Enter the Username and Password used according to the OpenVPN User list in Project A.
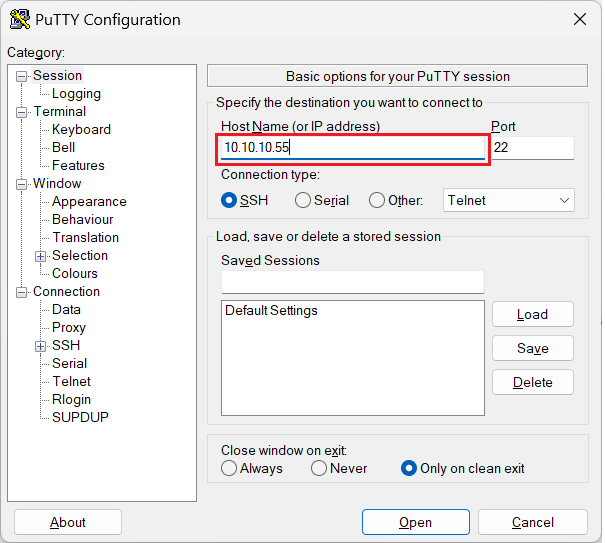
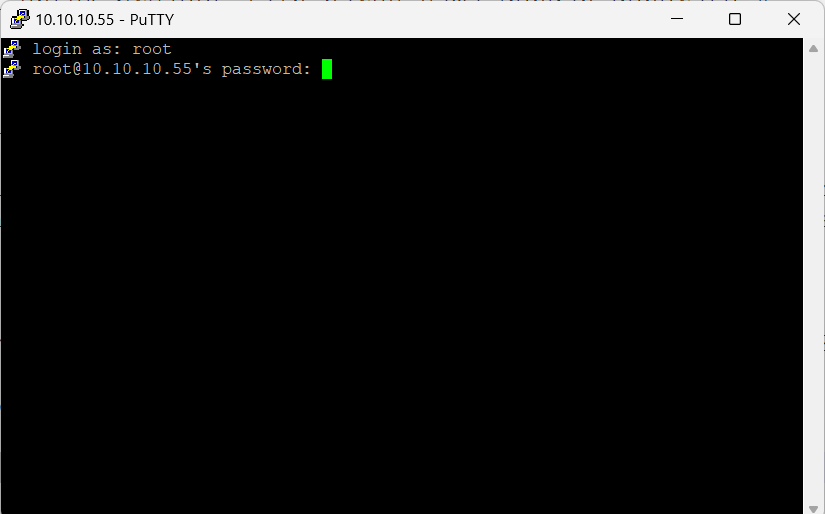
* Run putty on your computer. Enter the IP address used by the virtual machine in Project A.
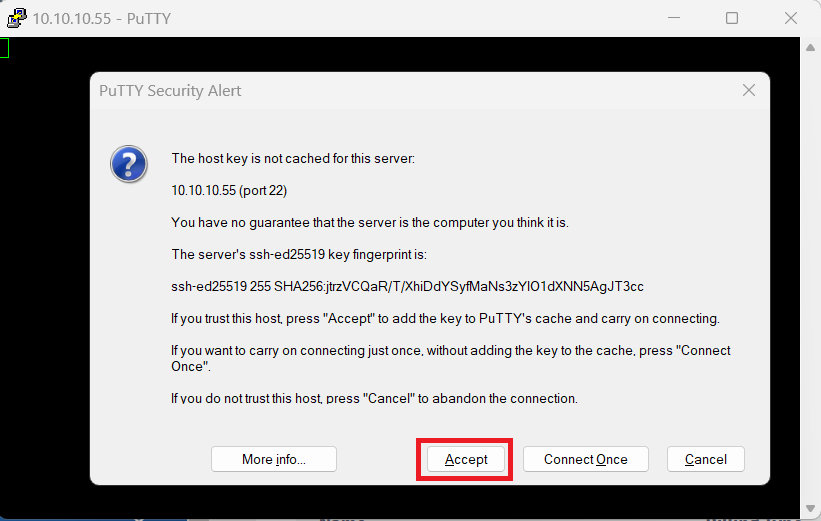
* Press the Accept button to enter the Project A virtual machine.
* Enter the username and password used by the virtual machine.
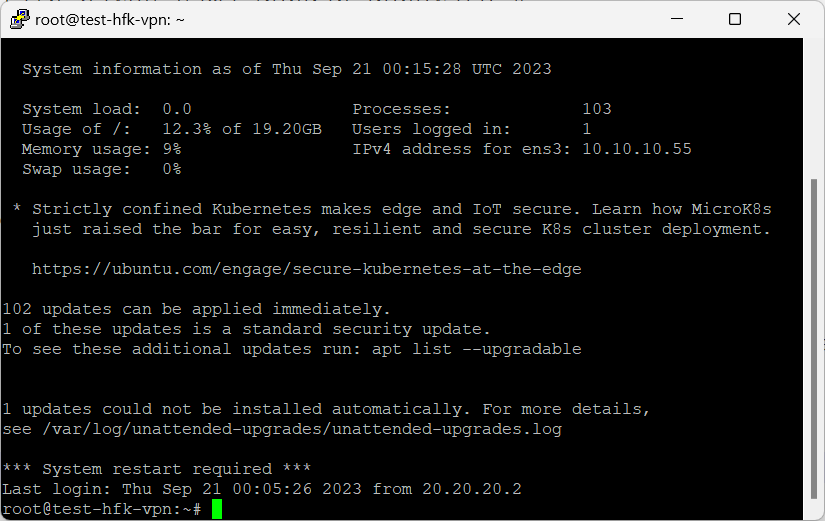
* You have successfully logged into the Project A virtual machine.
To be able to test the connection to Project B, you must conImage Security on Project A on the Service Portal AI, namely adding the IP address of the subnet used by Project B.
* On the Project A page in the Service Portal AI, select the Security menu and press the Edit button to make configuration changes.
* On the Edit Security page, you will add two new rules to Inbound by pressing the New Rule button.
* The first type of rule is SSH, while the second type of rule is All ICMP Rule. In each Source column for both Types, enter the IP address of the subnet used by Project B, namely 10.20.20.0/24.
* Press the Save button to save changes.
* Do the same steps to conImage Security on Project B by adding the subnet IP address on Project A, namely 10.10.10.0/24.
* Enable IPsec on Project A, make sure the IP address used is the Project B subnet.
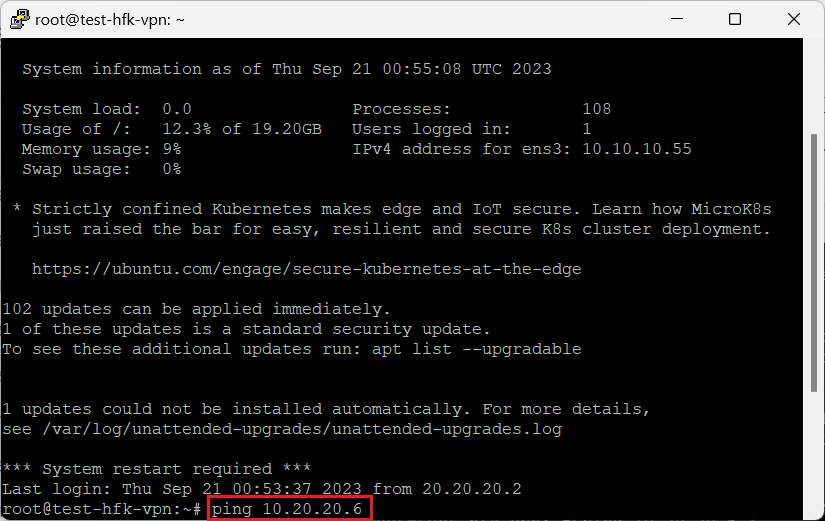
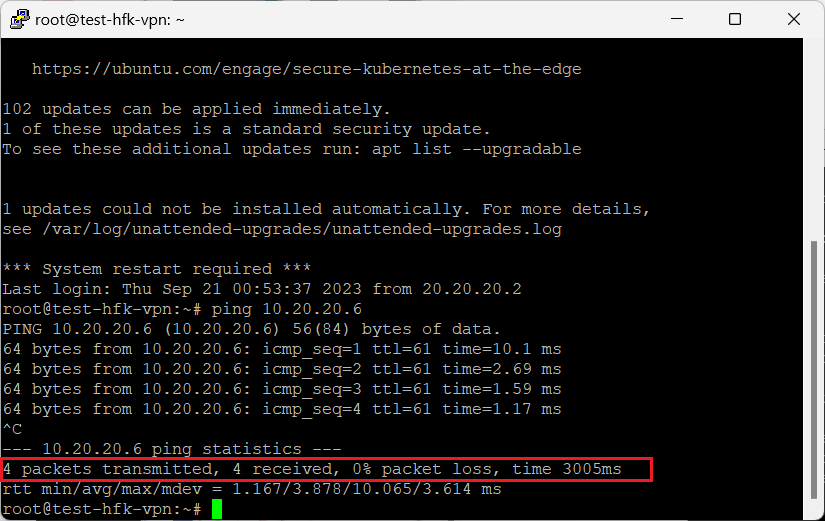
* Test the connection via Putty from the Project A virtual machine to the Project B virtual machine by inputting the following syntax: ping 10.20.20.6.
* The results of testing the network connection to the Project B virtual machine were completed in 3005 milliseconds (± 3 seconds).
---
# Agent Instructions: Querying This Documentation
If you need additional information that is not directly available in this page, you can query the documentation dynamically by asking a question.
Perform an HTTP GET request on the current page URL with the `ask` query parameter:
```
GET https://docs.cloudeka.ai/deka-vpn/remote-instance-using-putty-1.md?ask=
```
The question should be specific, self-contained, and written in natural language.
The response will contain a direct answer to the question and relevant excerpts and sources from the documentation.
Use this mechanism when the answer is not explicitly present in the current page, you need clarification or additional context, or you want to retrieve related documentation sections.