> For the complete documentation index, see [llms.txt](https://docs.cloudeka.ai/llms.txt). Markdown versions of documentation pages are available by appending `.md` to page URLs; this page is available as [Markdown](https://docs.cloudeka.ai/guideline-for-individual/deka-vpn/configuration-deka-vpn-ipsec/ipsec-tunnel/add-phase-2.md).
# Add Phase 2
Phase 2 in IPSec is used to define which traffic (subnet or network) will be encrypted and transmitted through the VPN tunnel. There are steps to add Phase 2:
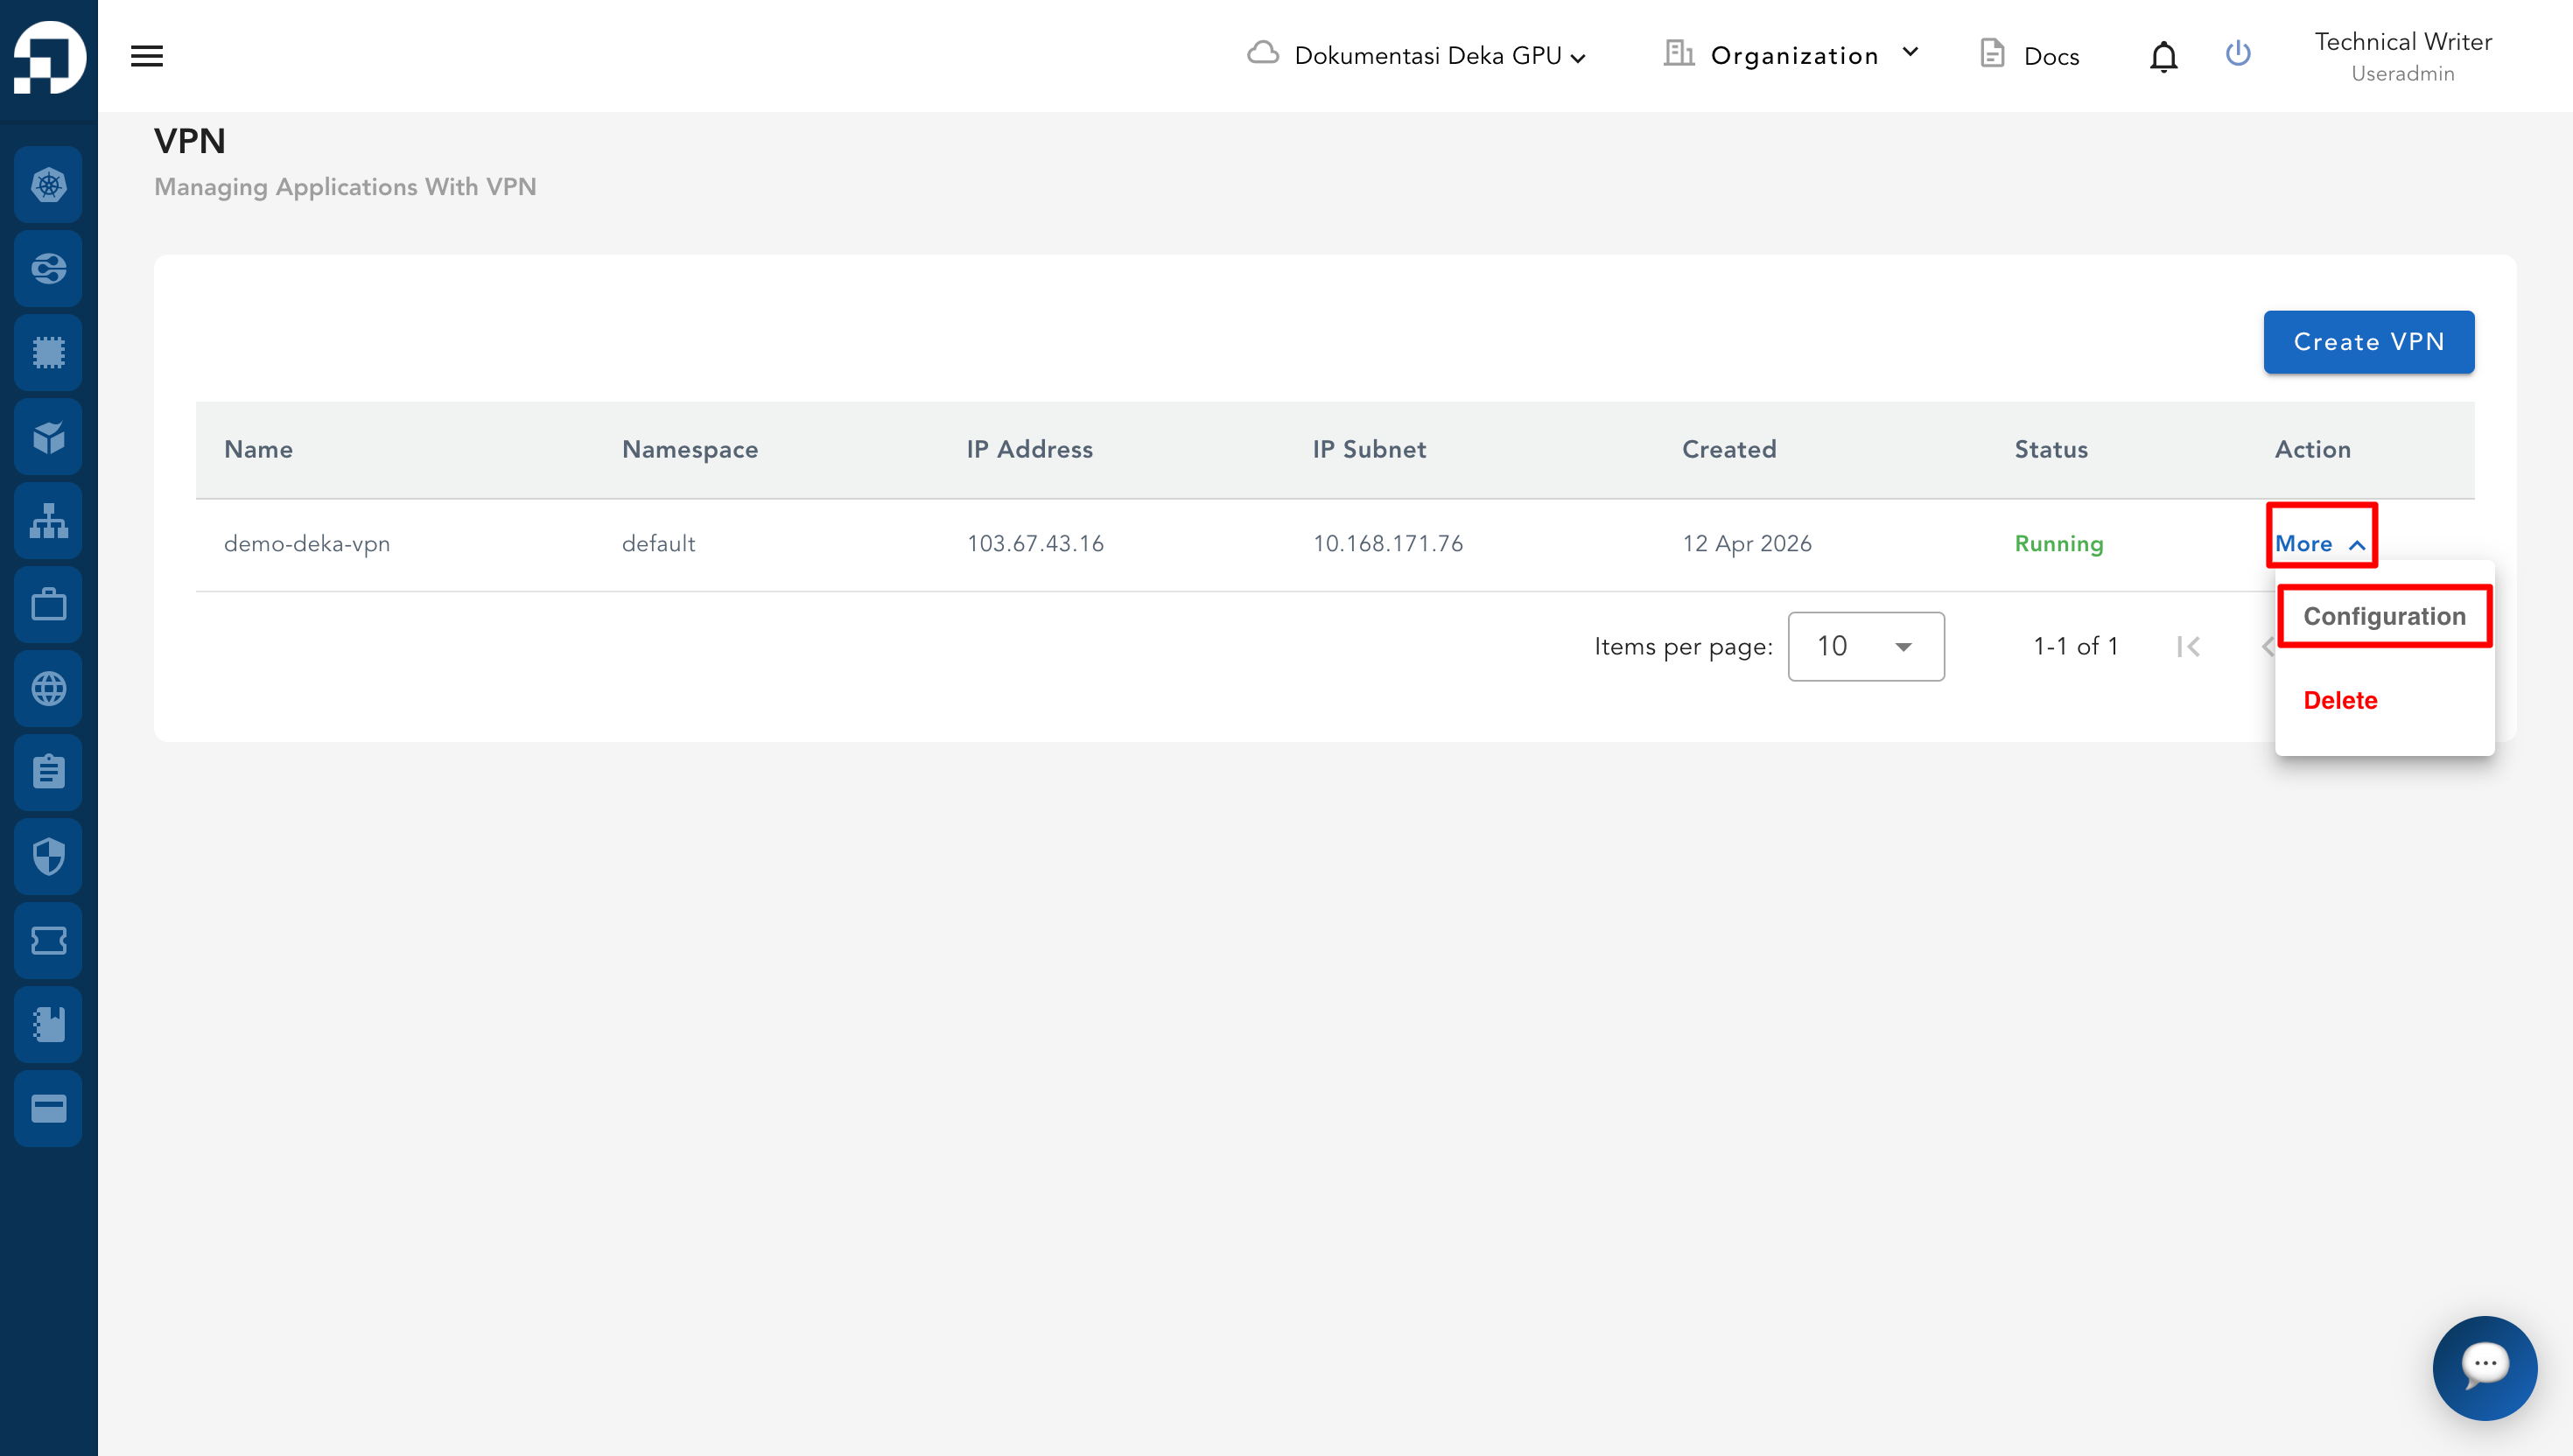
* Go to the **VPN** list table, then click **More → Configuration** on the selected VPN.
* In the **IPSec** tab, scroll down to the **IPSec Tunnel** section. Click the **Add Phase 2** button.
* Fill in the required information:
Column
Description
Remote Subnet
The destination subnet configured to connect with the VPN.
Network Size
The subnet mask (e.g., /24, /16) that defines the size of the network.
Description
Additional information or notes related to the configuration.
* Click **Create** to save the configuration.
* The system will display a notification stating **“IPSec Phase 2 has been successfully created."**
* To check if IPSec Phase 2 has been successfully added, click the **More** button and then select **IPSec Phase 2**.
* The IPSec Phase 2 window shows the list of existing Phase 2 configurations along with their details.
.png)
.png)
.png)
.png)
.png)